Understanding Fiber Laser Engraver Lenses: The Hidden Key to Perfect Engraving
When most people think about fiber lasers, they focus on the wattage or the machine’s brand — but here’s a little secret: your lens choice can make or break your engraving results.
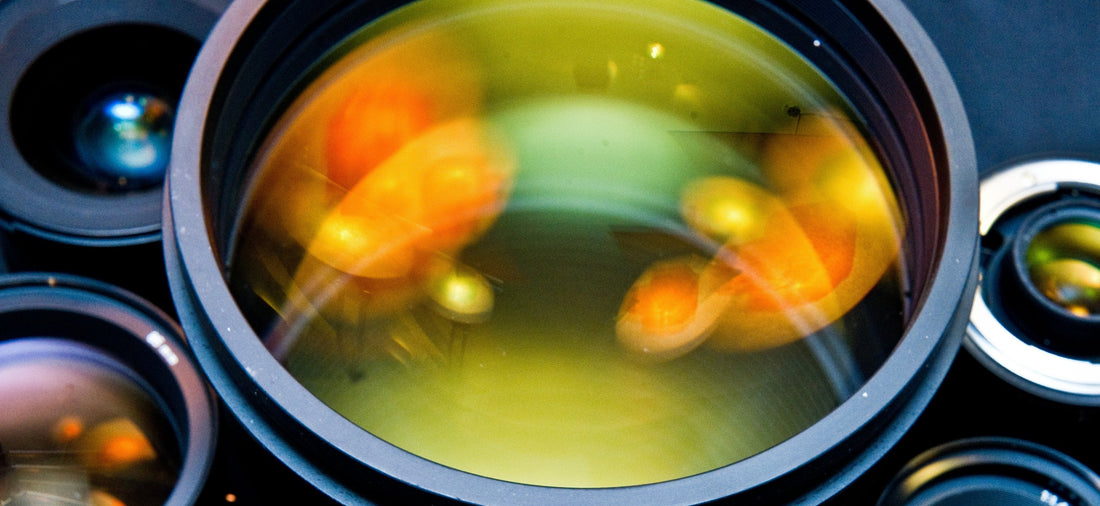
Fiber laser engraver lenses (also called f-theta lenses) determine both your engraving area and the level of detail you can achieve. They’re like camera lenses for your laser — different focal lengths change how large your working area is and how tightly the beam is focused.
For example, a 110x110mm lens offers incredible detail and depth for small items like jewelry or dog tags. It focuses the laser beam into a tight, precise point — perfect for fine lines and crisp edges. But switch to a 300x300mm lens, and you’ll gain a larger engraving area while sacrificing some of that microscopic detail. It’s ideal for marking larger panels, trays, or signage.
Here’s the general rule of thumb:
-
Smaller lens = finer detail, deeper engraving, smaller workspace
-
Larger lens = wider workspace, lighter marking, less detail
Lens material also matters. High-quality lenses use coated glass that minimizes distortion and helps your laser beam stay consistent across the surface. If you’re seeing uneven engraving depth from side to side, your lens may need cleaning, realignment, or replacement.
And don’t forget about software compatibility — your laser software (like EZCAD or LightBurn) must be properly calibrated for your specific lens size, or your design might come out stretched or warped.
If you’re using LightBurn, setup is straightforward. You can easily select your working area and calibrate the scaling once your lens size is entered. That’s part of what makes LightBurn so popular — it simplifies what used to be a headache in EZCAD.
So, if your engraving isn’t looking quite right, don’t rush to blame your laser power. Sometimes the secret is right in front of the lens — literally.